One of the superior qualities of traditional hot hide glue is that as it gels and shrinks, it will actually draw tight fitting joints together. For centuries, this property has been used by violin makers in creating a "rubbed joint" that requires no clamping yet creates a quality of joint that remains unsurpassed,
|
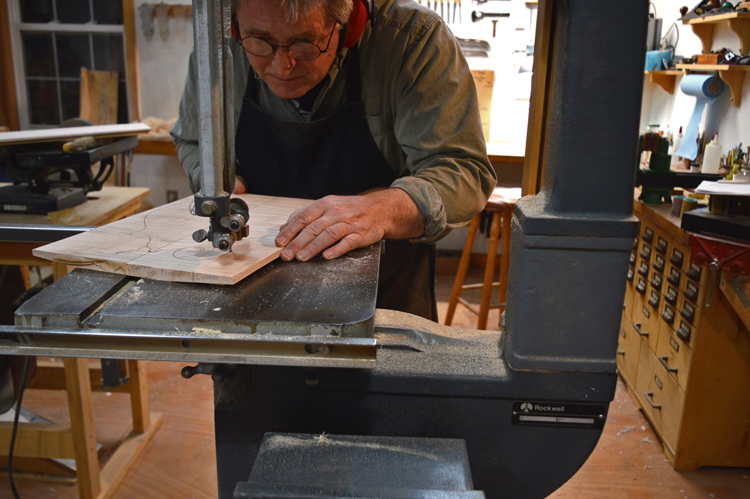
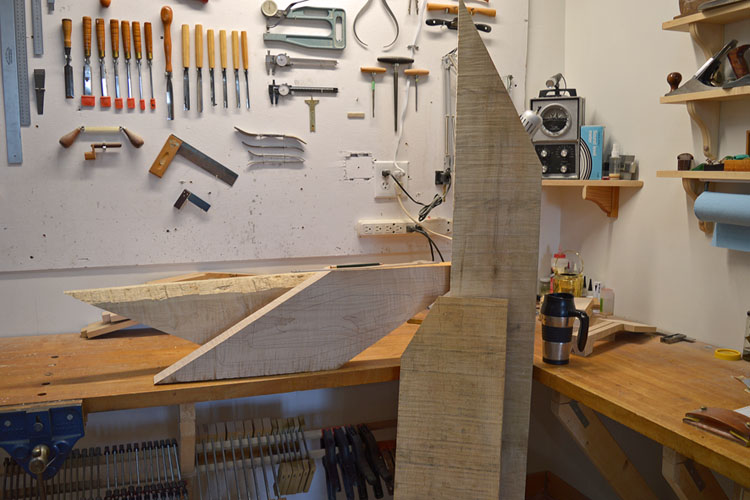
After book-matching, the top and back plates are band-sawed to shape.
|
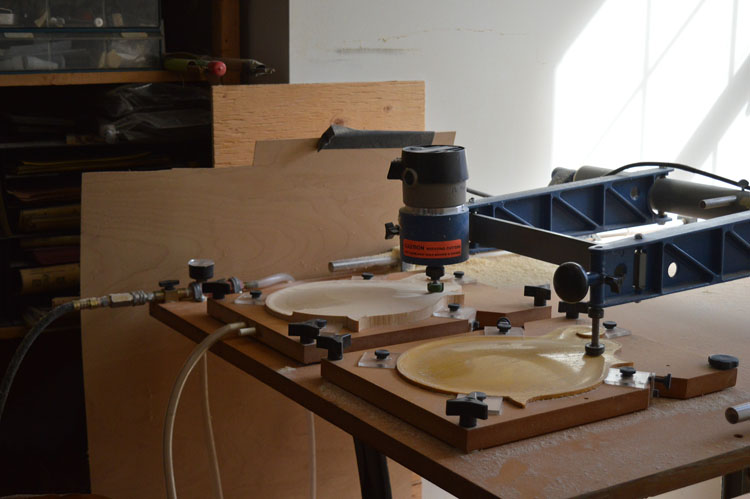
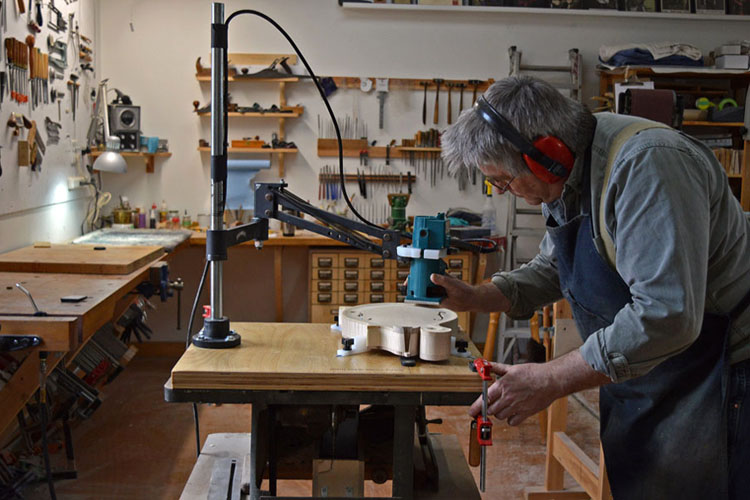
A manually operated pantographic copying machine is used to "hog out" the bulk of the carving.
|
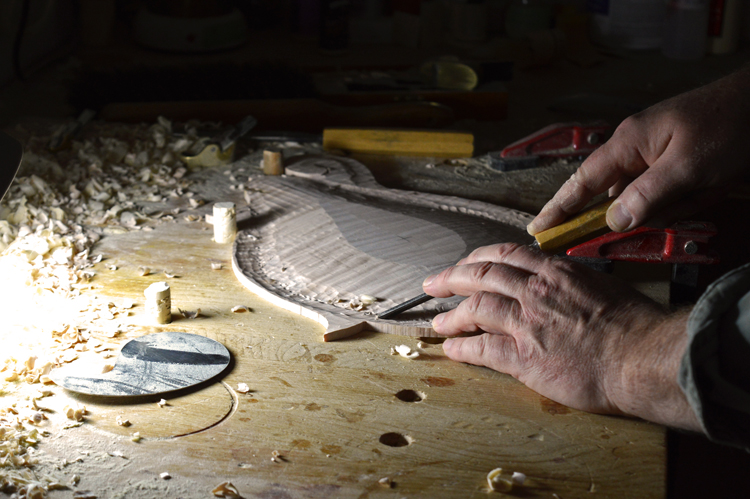
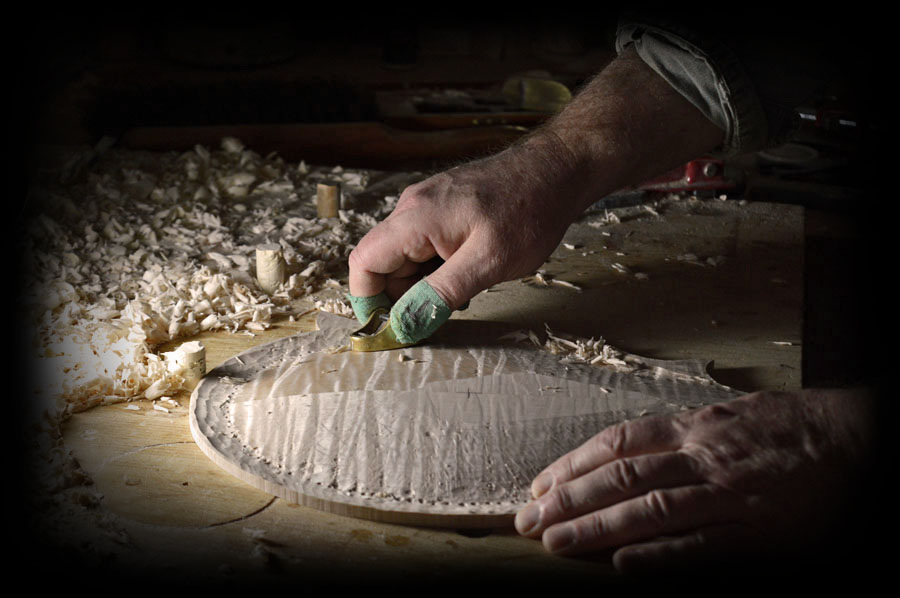
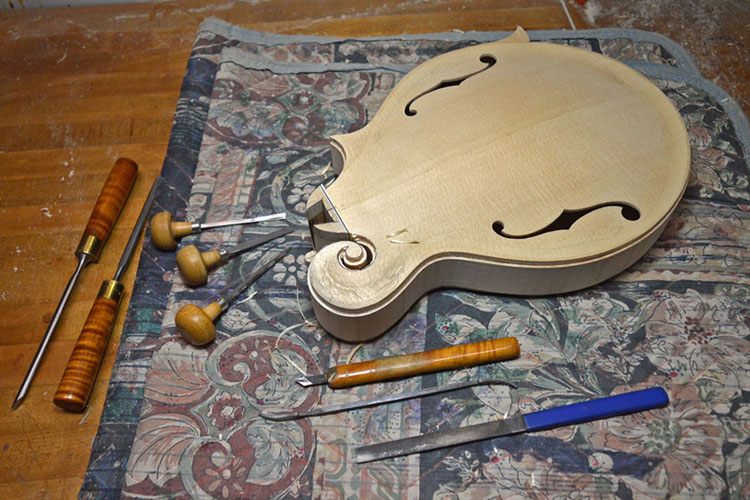
The final carving is done using hand tools only.
|
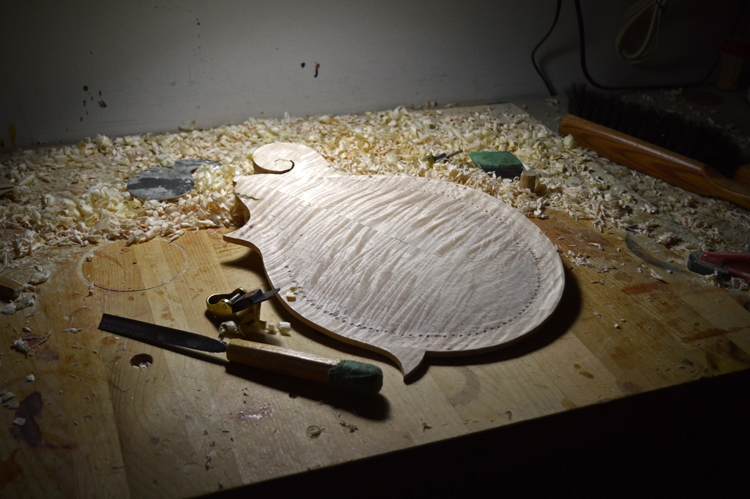
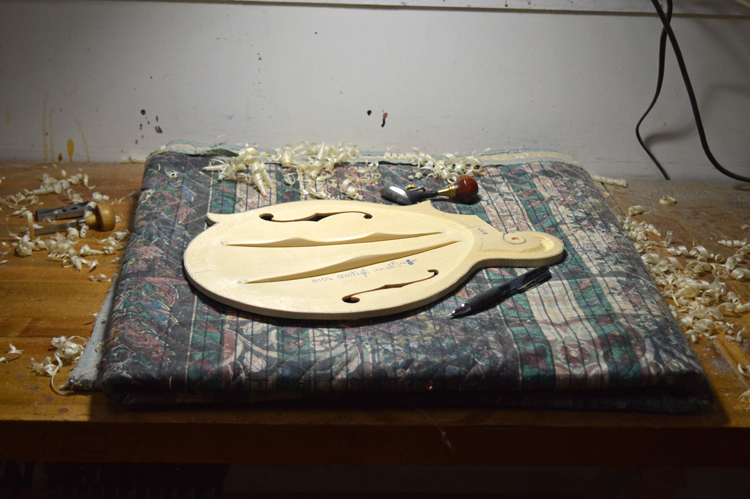
Carving nearly completed.
|
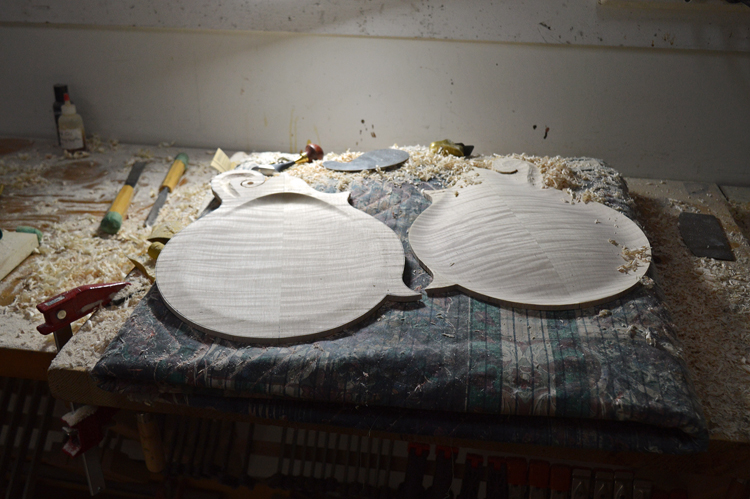
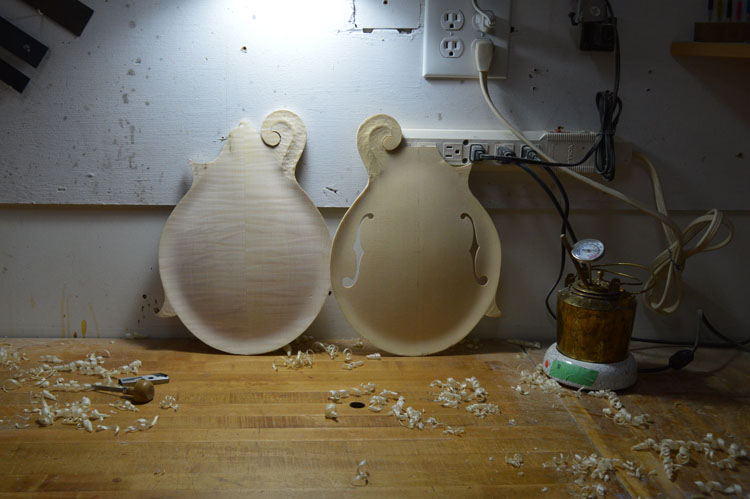
Two completed back plates. Note that on Apitius mandolins, the graduating goes completely around the plate, even at the neck block area.
|
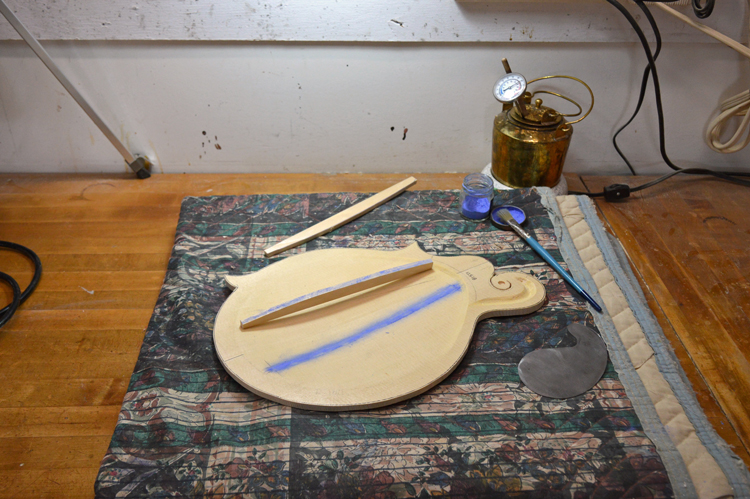
Colored chalk is used to fit the tone bars to the top plate. By rubbing the tone bar over the chalked area, the high spots will be revealed. These are then scraped down and the procedure is repeated until the entire tone bar shows blue.
|
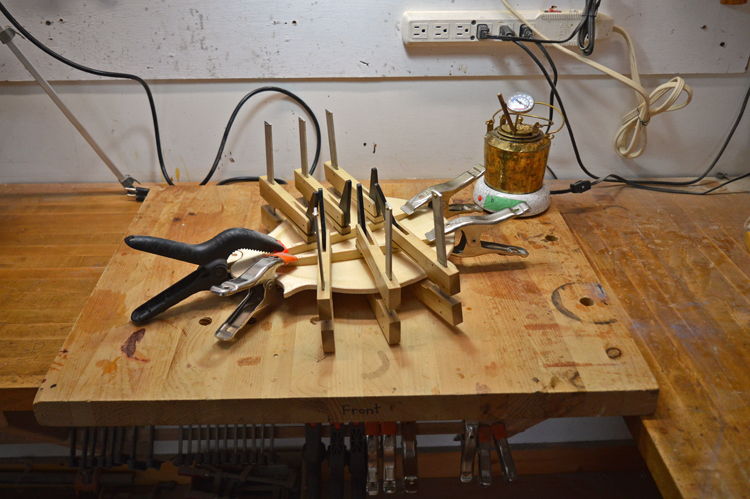
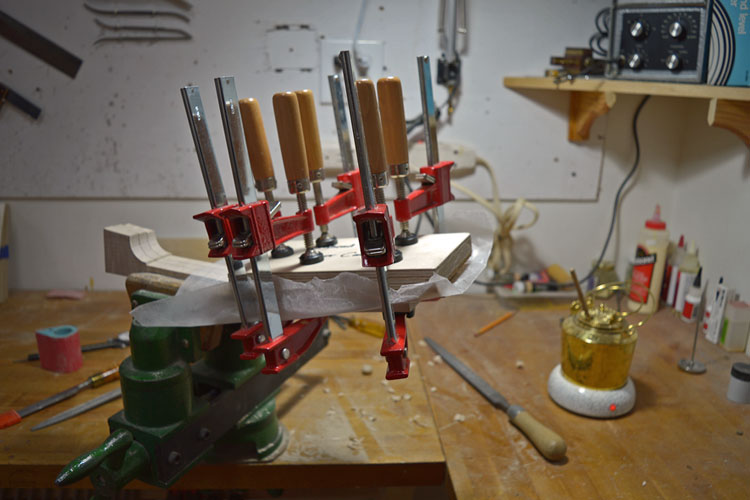
Hot hide glue is used (as on all wood to wood joints) to glue the fitted tone bars to the top plate. I made these, ultra light, mini wooden cam clamps specifically for this purpose.
|
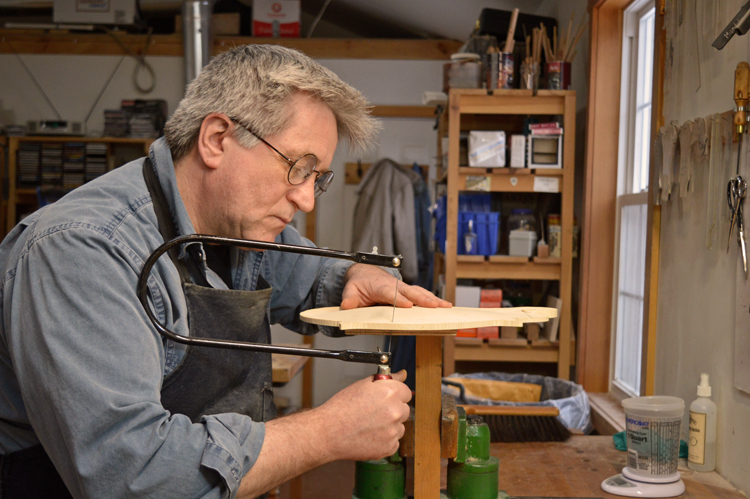
Most manufactures and many independent luthiers are using some type of pin routing or cnc milling to cut the f-holes. I prefer a hands-on approach. I feel that it creates a relationship between maker and mandolin that helps elevate the instrument to and individual work of art as opposed to another product, unit or "widget".
|
My unique tone bar profiles are one of the elements that come together to create the "Apitius sound". Although outwardly my goal is to capture the look and feel of the 1920s, inwardly, I have developed several design modifications including my patent pending "Apitius Arching" to further refine the sound of the arched top mandolin.
|
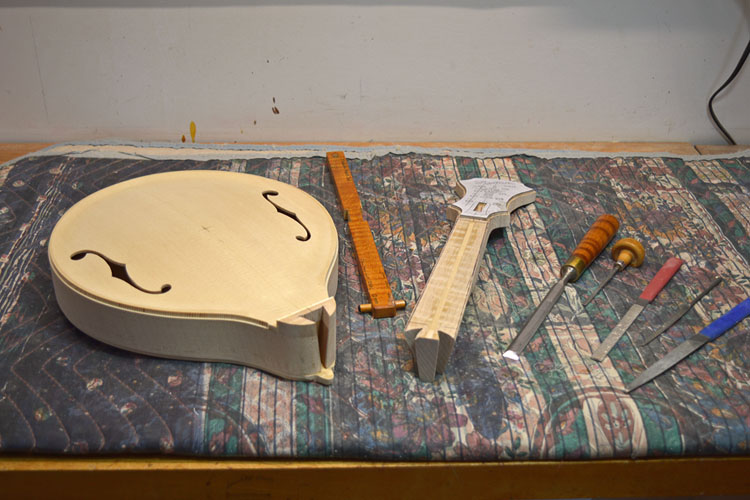
The nearly completed top and back.
|

The wetted sides are bent in a specially built fixture.
|
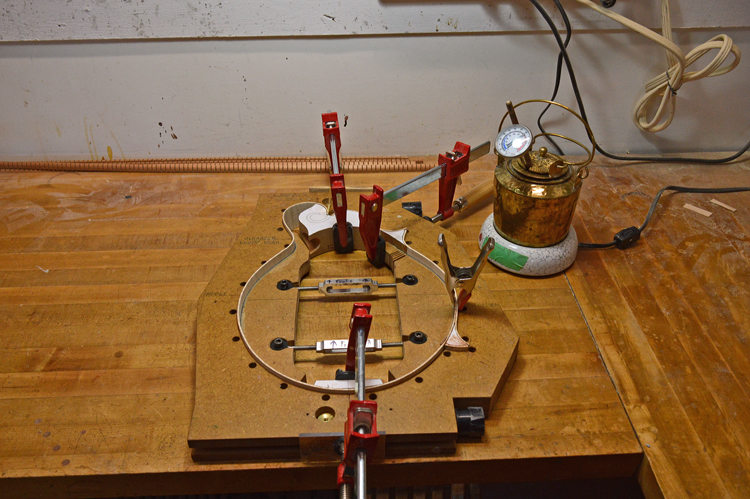
The ribs and blocks are assembled with hot hide glue in a specially designed form.
|
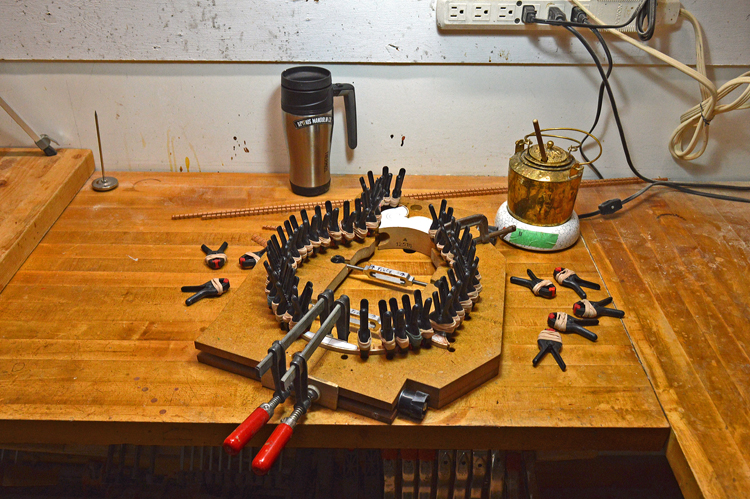
The "kerfed" linings are glued in to provide a wider gluing surface for the top and back plates. The rubber bands increase clamping force.
|
The completed rim assembly.
|
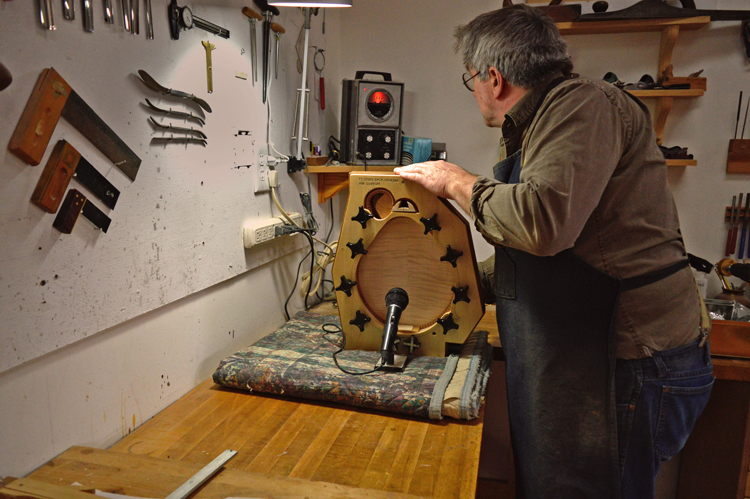
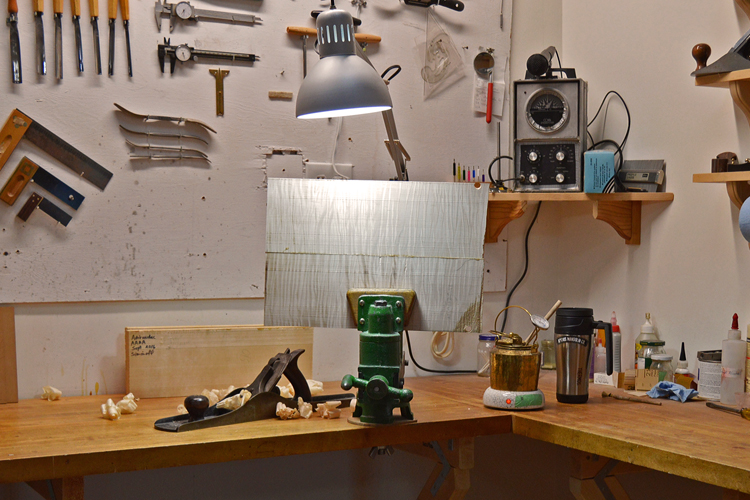
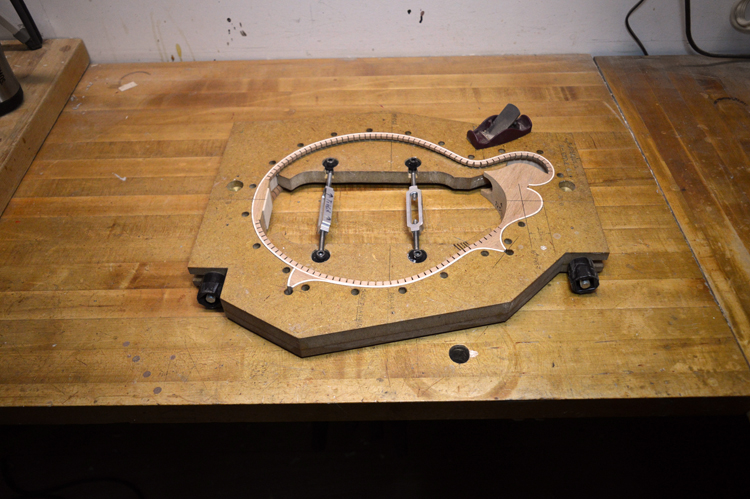
This fixture allows me to measure the tap tones of the fixed plates. After 40 years of recording tap tone measurements, I now have specific frequencies that I aim for.
|
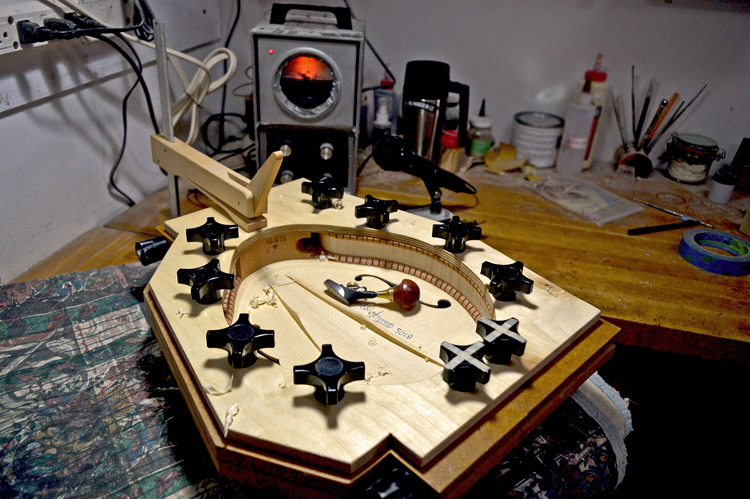
The tone bars are given a final tweak while in this fixture which clamps the top to the rim and keeps everything except the top plate rigid.
|
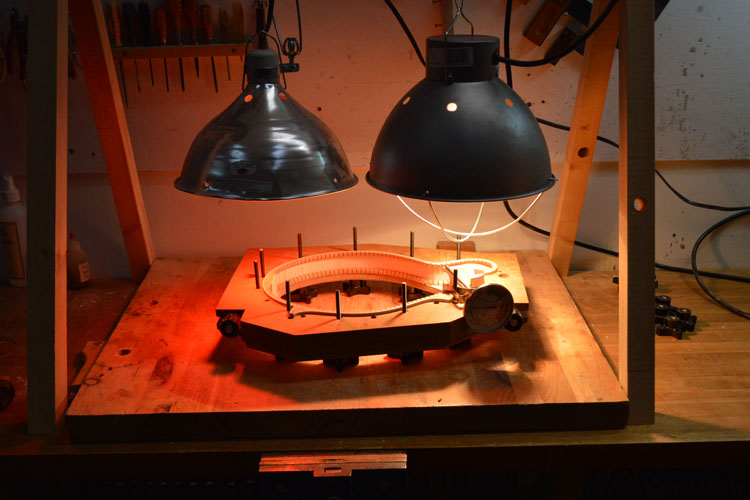
The rim is heated to 140°F to extend the working time of the hot hide glue. This is necessary with hide glue when doing complicated and/or large glue-ups. Although hot hide glue is superior to modern glues for musical instrument making, not many larger shops use it because it does not lend itself to mass production.
|
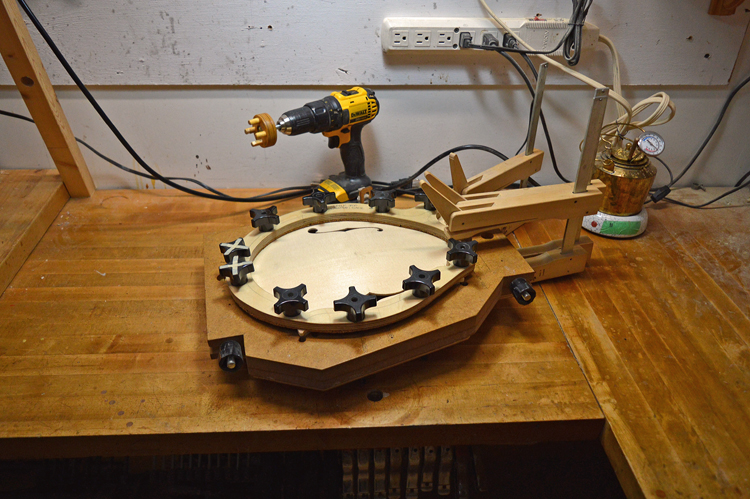
The top plate is glued on with this fixture that allows for very rapid clamping, before the hide glue has time to gel.
|
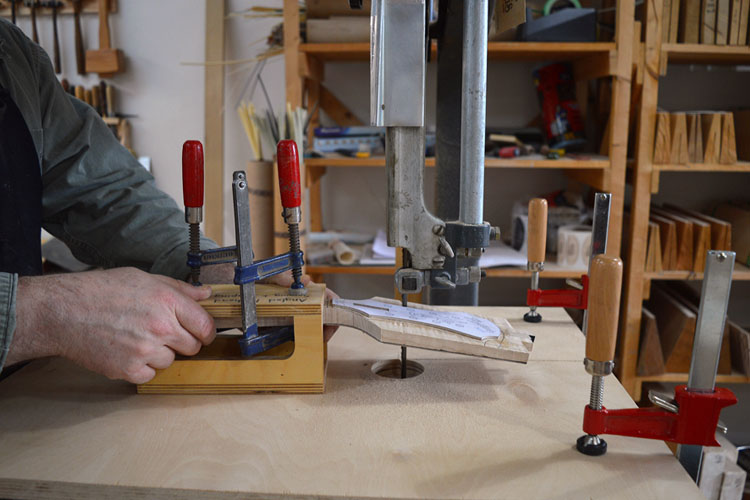
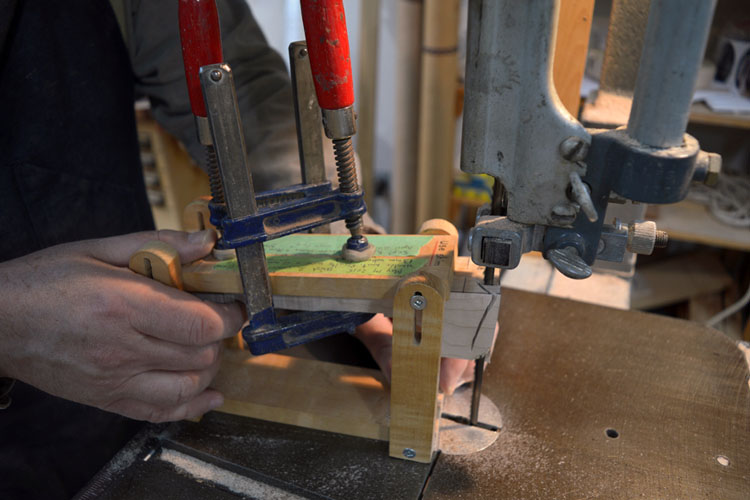
The inner contour of the F-style scroll is cut with, what else? A scroll saw.
|
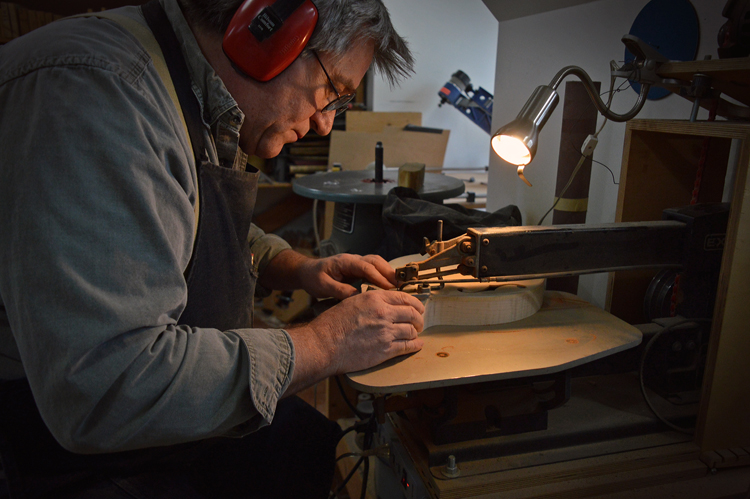
Using my "Canadarm" to rout the binding ledges.
|
The scroll area ledge is cut by hand as the router will not reach into this area.
|
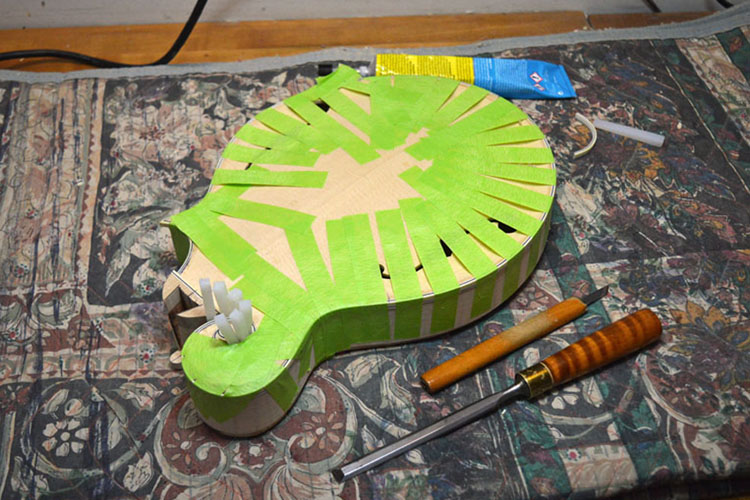
The bindings are installed using tape and wedges to hold them in place.
|
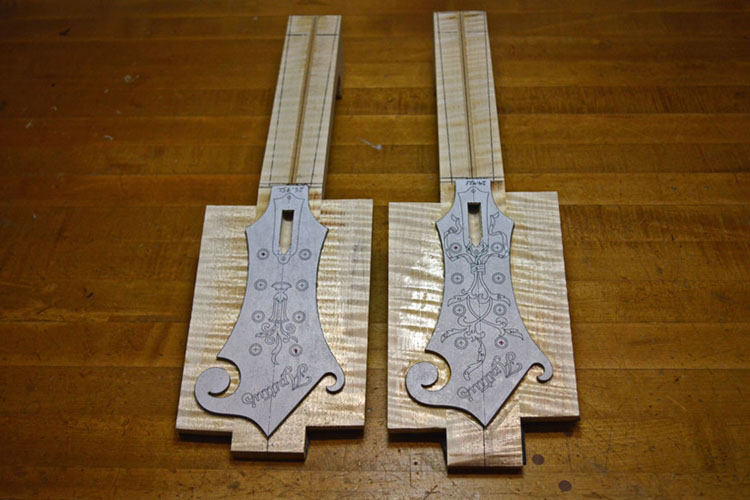
Peg-head overlays glued to neck blank.
|
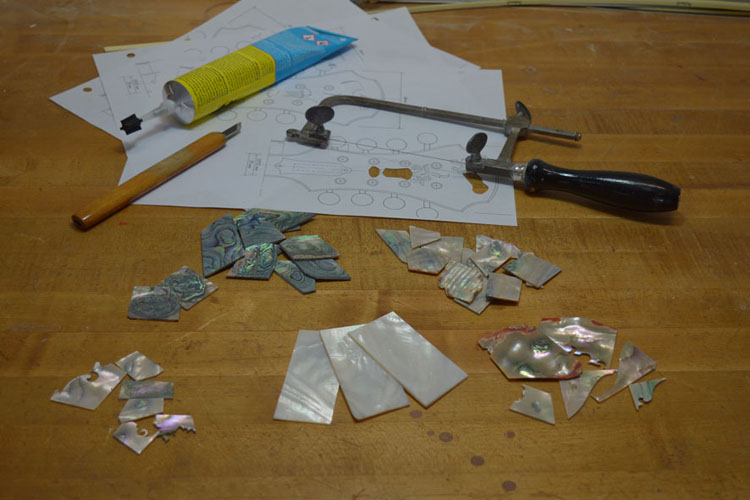
Pearl shell for inlays.
|
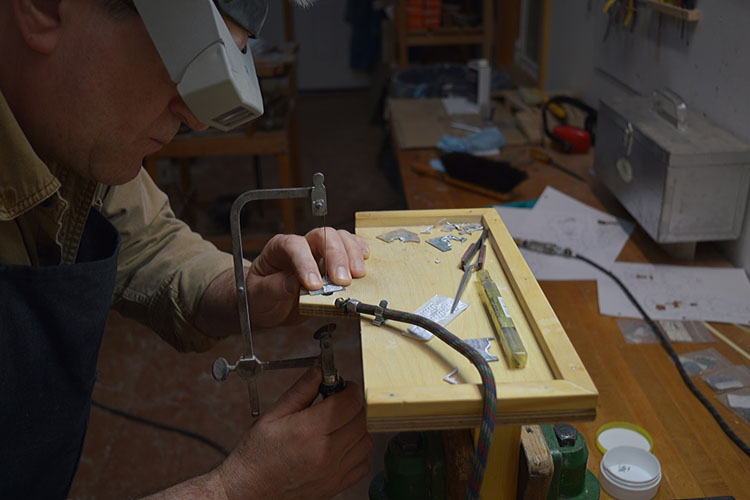
The inlays are sawn using a jeweler's saw.
|

Routing the inlay cavities.
|
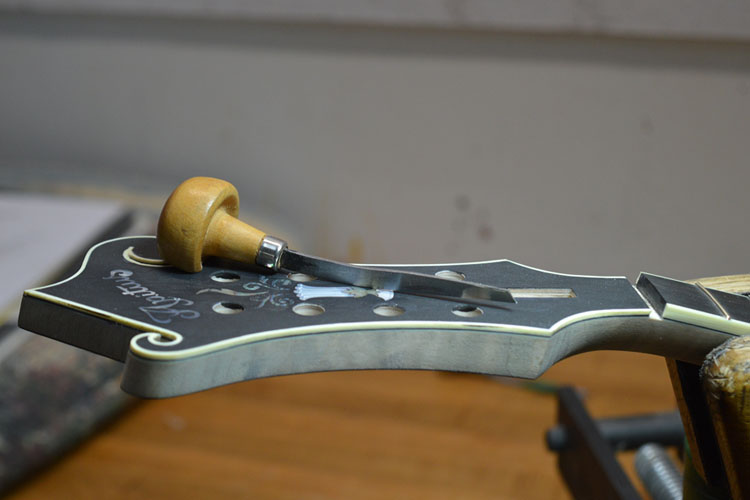
Inlays are hand engraved to add detail.
|
Before finishing, the engravings will be filled with engraver's wax.
|
Necks begin as slabs of curly maple.
|
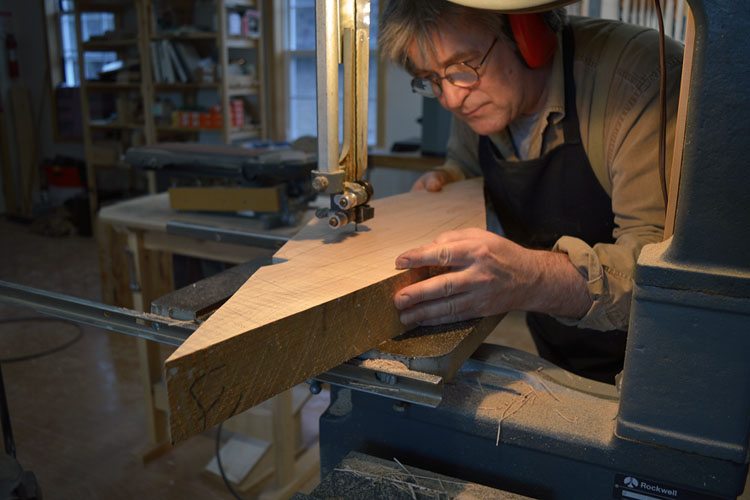
Neck "billets" are sawn on the band-saw.
|
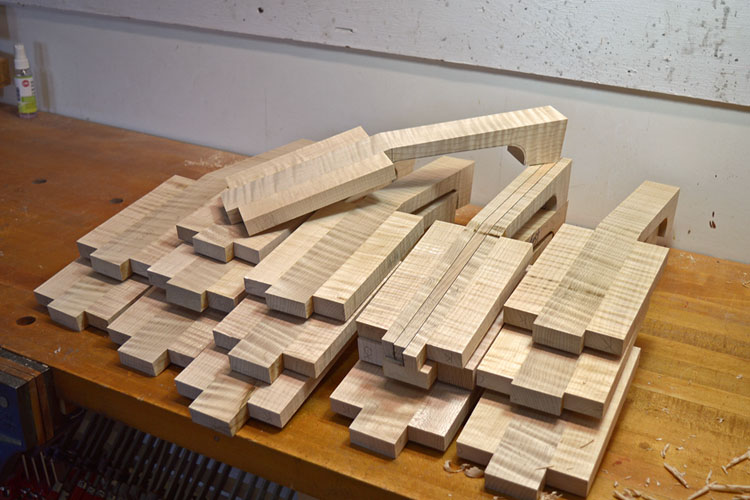
A batch of dressed neck billets with "ears" glued on.
|
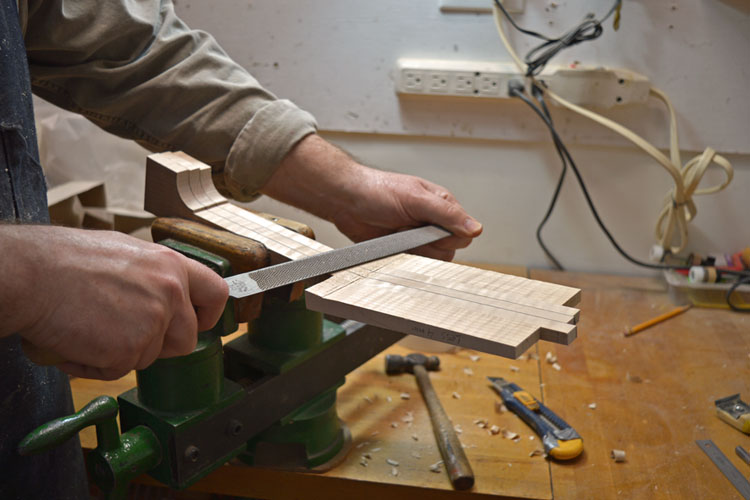
The neck and peg-head are final thicknessed and then blended together using a rasp.
|
The headstock veneers are glued on. The back gets a veneer of dyed pear wood while the face gets a sandwich of 4 layers of maple plus an outer layer of dyed pear wood as was done on the Loar F5s.
|
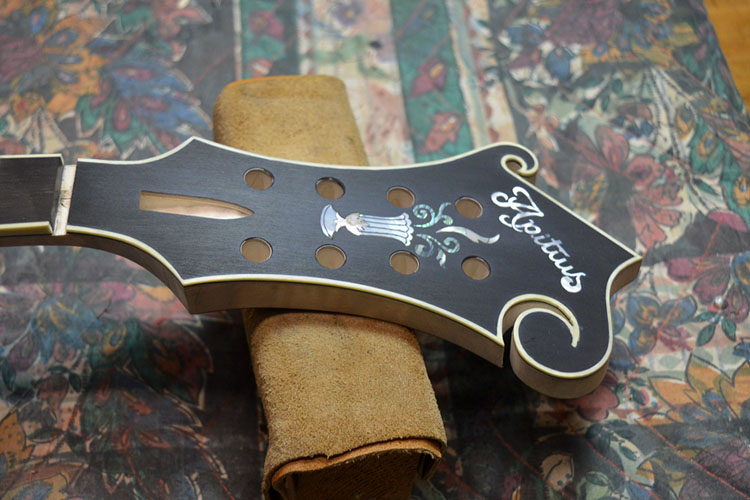
All peg-heads are "angle cut". When combined with a tapered headstock, this detail makes for a very visually appealing effect.
|
A time tested, traditional tapered dovetail is cut on the bandsaw and hand fitted to each instrument.
|
The fitted dovetail.
|
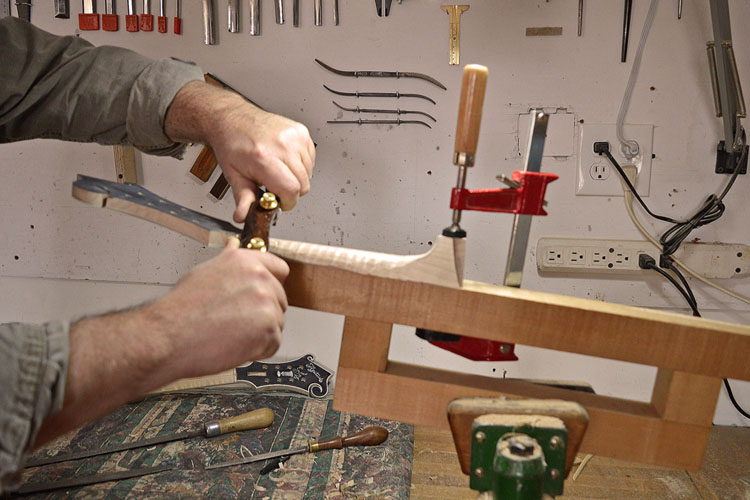
The neck profile is shaped using a spokeshave and rasps.
|
| |
|
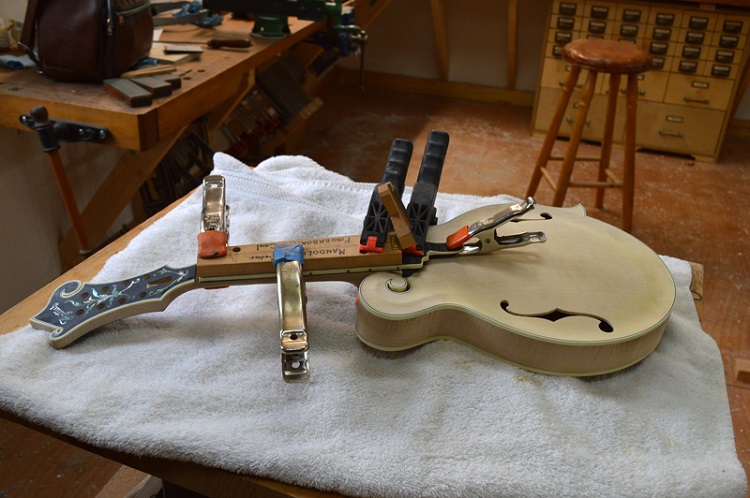
Gluing on the fingerboard
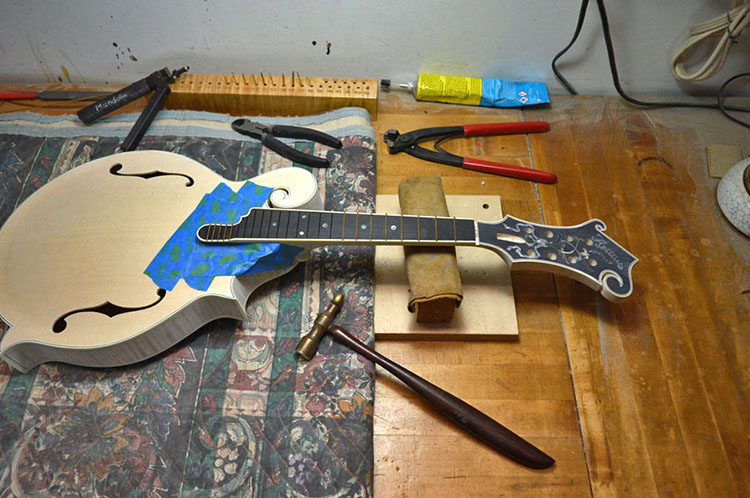
Installing frets
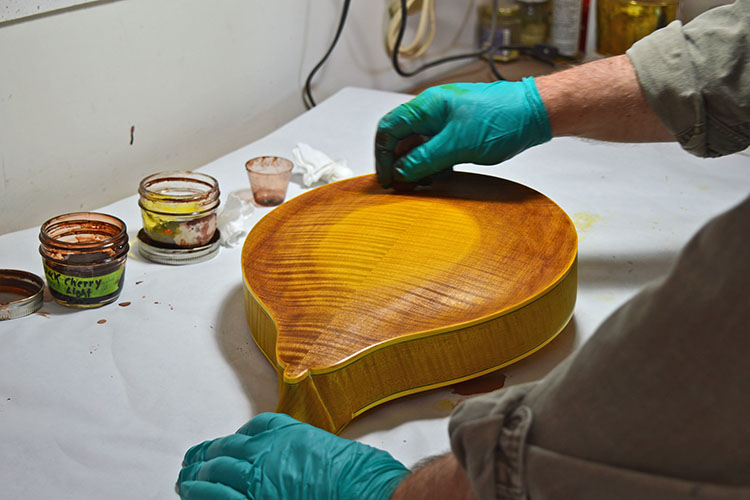
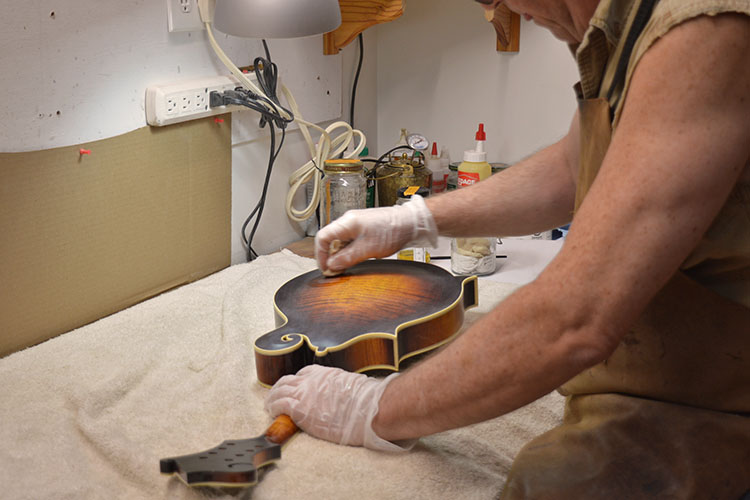
Applying sunburst stain by hand
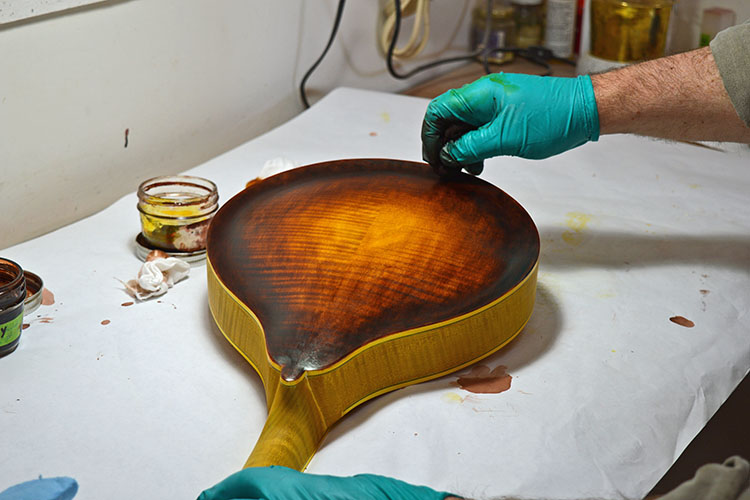
Continuing to build color
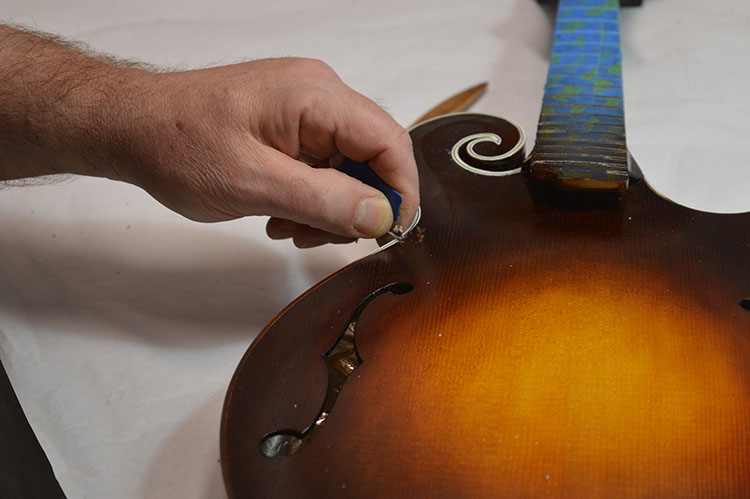
The color is scraped from the bindings with a razor blade

Two mandolins stained, scraped and ready for varnishing
Beginning the French polishing process
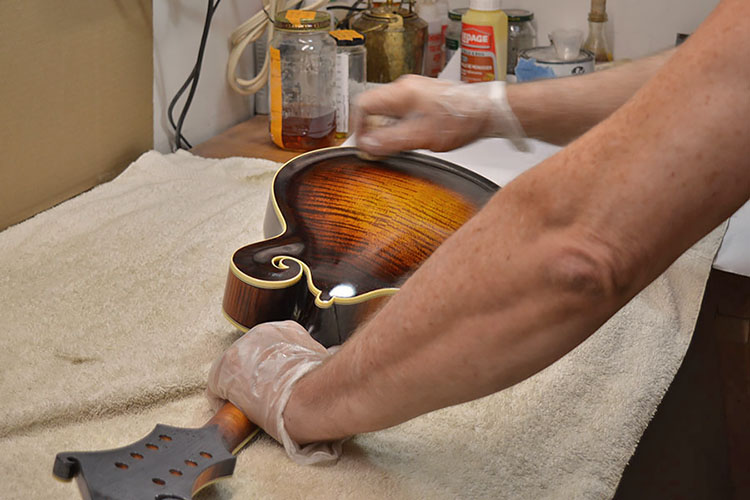
After multiple French polish sessions, the gloss is acheived
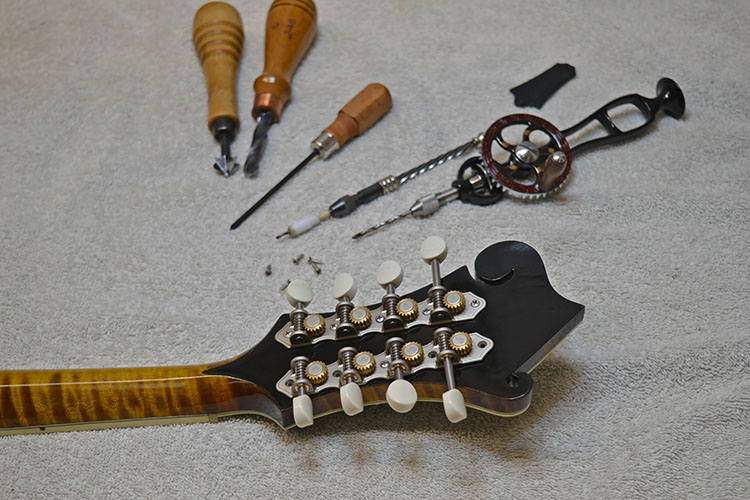
Precision tuners require a precision installation
|
|
Please check back from time to time as new photos are occasionally added
|
| |
|
 RGB.jpg)